First, you need to know about are the tools that are needed.
Cutting the stones. You can use a carborundum, diamond blade in either a circular saw or a wet tile/brick saw. I like to use a carborundum blade in a circular saw if I’m working outside, around the house. I find that it’s easier for me to just carry it around with me as opposed to a larger wet saw that you set up on a table once and then you’ll have to go to the saw each time you need a cut. However, a wet saw will make a nicer and cleaner cut for the most part and without all that dust. But hey, you’re installing stone here, not marble. But make sure you wear that dust mask! You can also use a small grinder with a diamond blade.
Apply the stone
Let’s first start with applying the stone to a wood surface. Like your house. Before you do anything you must start with a clean surface that has only the wood showing. Now that you have that, you’ll need to staple a minimum of 20 lb. felt paper to your house. Be sure that you overlap the edges of the felt paper by at least 2 inches and the butt ends by at least 6 inches. Make sure it’s laying nice and flat. Don’t go too crazy with this, as next, you’ll be installing a 2.5 lb. galvanized expanded metal lath or mesh. Always overlap the edges as you did with the felt paper and secure it with 2″ galvanized nails spaced 5″ apart. When doing corners, you will want to cover the corner by at least 16″. When applying the mesh, you will want the grooved cups facing up. If you rub your hand over the mesh, you’ll notice that rubbing your hand in one direction will feel rougher in one direction than in the other. The rough direction is the one you’ll want to face upwards. Now you’re ready to start applying the mortar. Here you have two options, it would really depend on how thick and heavy the stone is that you’re working with. With a smaller, thinner, and lighter stone you can just apply your mortar and your stone all at the same time. But with most stones that are thick, heavy, and just bigger, you’ll have to apply a 1/2″ to 3/4″ thick coat of type N mortar. Apply all the mortar with at least a 12″ trowel. Then you will need a scratch coat rake. By using the rake, you will be making grooves in the mortar that the next coat will best adhere to.
Apply stone on a concrete wall.
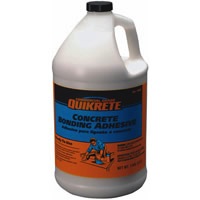
With a concrete wall, all you need to do is apply the mortar 1/2″ to 3/4″ thick and go with it. However, no matter how good I think I am, I ALWAYS like to use an acrylic additive first. This really only costs a few dollars. It looks like milk and it’s applied with a big paintbrush, real fast. What it does is well worth it. It’s more or less glue for the wall.
Now the finishing.
Now that you’re stone is all installed, either you installed a stone that was a really tight fit and you’re done or you have big spaces that need to be grouted. If you need to grout, the best way to do this is to go out a get what’s called a grout bag. I think they cost about five dollars. You simply fill the bag up with a thinner mix of the mortar you used and fill the gaps. Do small areas at first, about a 5′ x 5′ area. Then, with a joint tool or even a wooden stick, smooth out the grout lines. Now, remember, you’re dealing with stone here. If you make them too smooth it will look strange. The whole idea here to make this whole project look like real stone.
Before you start, play around with the stones on the floor and try to dry-fit them into your pattern. Play around with different combinations of colors and shapes. It will make the job look nicer and, for the most part, easier once you start applying the stones for real.
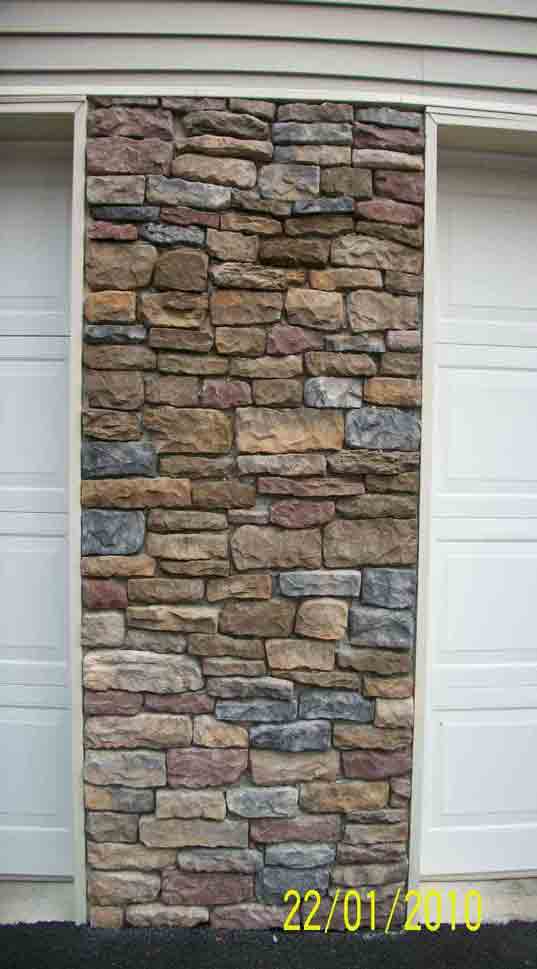
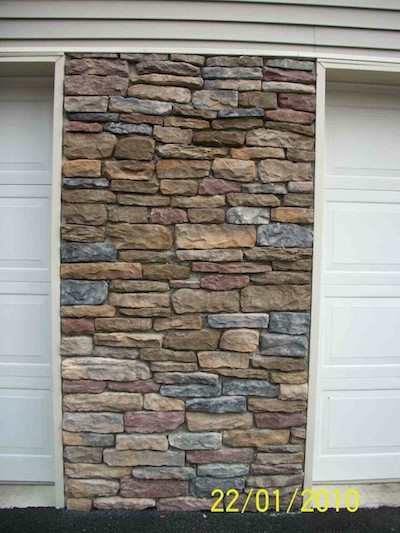
The picture below is a job that I did. The job was to fix a screw-up done by eh so-called mason before me. What he did was use a metal lath over an existing concrete wall. Well, needless to say, it was a bad idea. The wall actually came down on me when I just starting to remove the top stone. The only thing that was there to hold the stone up was the vinyl siding. Yup, it hurt. So enjoy your project and wear a hard hat if you’re working with stone over your head.
For the acrylic additive. You can buy this from Home Depot or any mason supply.

As shown above. To make things simple, think of it as a glue, from old concrete to new
Watch a video on how to build a fireplace mantel where I install this cultured stone VIDEO LINK


