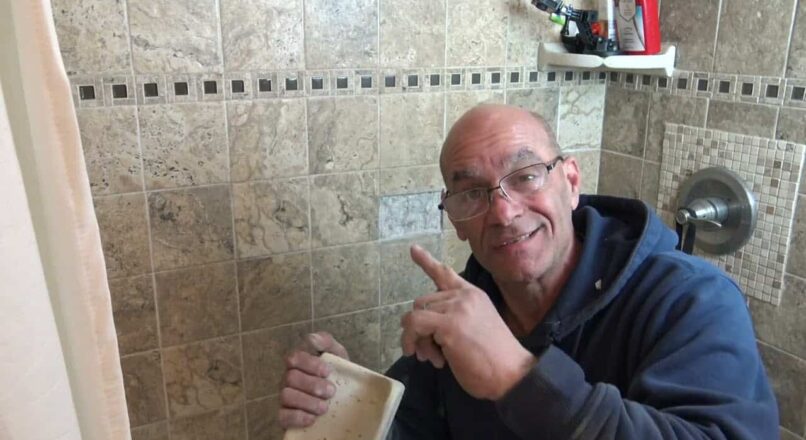
So why did the soap dish fall off?
That’s the best question, right. Well, it can be for many reasons.
- The inner wall has gone to poop.
- The backer board or sheetrock just wasn’t installed correctly
- The soap dish was grouted instead of caulk.
- The wrong thinset or adhesive was used.
- This list can go on and on.
Ok so now that we know a few reasons why it failed let’s get into how to install it correctly
The first thing you’ll want to do is to make sure the wall and surrounding tiles are strong and without any mold. If you can push in and see or feel movement in that area. You are going to want to get more into this. You won’t be the only one that had to tear down the entire wall to start all over.
Ok. so the wall is strong, great. Now let’s get into removing any and all thinset left behind. You can’t put well on top of bad. Besides we need the room for the new thinset. Now we don’t need a lot of room, but enough room.
Scraping out the old stuff just seems hard, but it’s really not that bad. Use something like an old screwdriver or a chisel. But don’t use a hammer.
Hammering on the wall will only pop the good tiles off. So use caution and don’t get cut. Trust me, I got 12 stitches removing a tile once. So once you removed the old thinset you’ll want to clean the old soap dish. Make sure no thinset is left behind.

Use coarse sandpaper and just sand the backside a bit. Don’t want to leave any soap scum or loose thinset behind.
Ok great, if you made it this far, you’re on your way. Let’s talk about the thinset you’re going to want to use. Yes yes I know, it’s so tempting to use the cheap stuff, but don’t. Use a well-modified thinset. These will have a much better fighting chance to stay where you put them. On the wall.
I like using a concrete acrylic fortifier on soap dishes and shower shelves. It’s cheap and can really make all the difference.
Now let’s mix the thinset up. Just a paper cub filled will be more than enough. Put some thinset on the wall and soap dish. Yes both, not just on the dish. This way you’ll know for sure you have enough on the wall and the dish. You’ll just enough to when you install the dish you’ll be able to feel it coming together before the dish bottoms out against the other tiles. You also don’t want so much that it comes gushing out all over the place.
Use along. whatever you have. Wood, broomstick. Anything that can be wedged against the soap dish and something that isn’t going to move or get moved. Let that sit for 24 hours. Remove your stick and with a good bathroom caulk, caulk around the soap dish.
That’s it. You now installed or re-installed a soap dish that won’t ever fall off again.
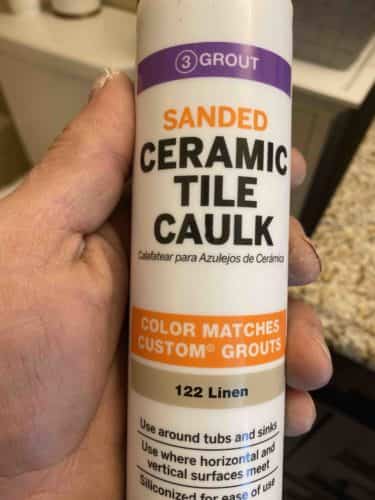
Typically you would use sanded caulk for larger gaps, like floors. And non sanded for smaller gaps, like walls. Also depending on the look, you’re after. In this shower, I used what is shown in the picture, sanded. Non-sanded caulk can give you that shiny look, and that I didn’t want in this shower.
Leave a reply