Introduction
If you’re a homeowner looking to update or install electrical outlets, you may have encountered the term 220v. Initially, this type of outlet may seem intimidating, but understanding 220v plug configurations is simpler than it appears. This article will clarify the concept of 220v plugs and provide a straightforward guide for managing these outlets for your safety and convenience.
Mastering the Mystery of 220Volt Plug Configurations
Adding or replacing electrical outlets in your home might feel overwhelming. However, with a grasp of basic electrical wiring and safety protocols, the task becomes manageable. Many homes feature three types of outlets: 120v, 240v, and 220v. The 220v outlet serves as the bridge between these three and is intended for high-wattage appliances, including electric ovens, water heaters, and dryers.
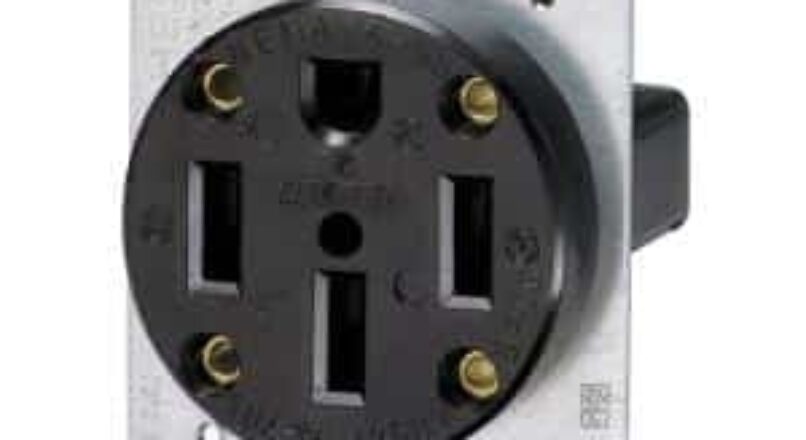
So, what is a 220v plug? In essence, it is an outlet that provides 220 volts of power, consisting of two hots (the two black wires) and a ground (the green wire), without a neutral connection. While primarily found on large appliances, 220v outlets can be installed in any home by a qualified electrician. Typically, the two hots are labeled L1 and L2, representing Line 1 and Line 2, which regulate the voltage flowing through the outlet. Most 220v plugs also include a grounding pin for enhanced safety against electric shock.
An Easy Guide to Controlling Your Outlets
If you’re considering adding or replacing your 220v outlets, it’s essential to know the steps for a safe and successful installation. Here’s a straightforward guide to managing your 220v plug configuration:
- Gather the Necessary Materials
Before starting, ensure you have all essential materials, including the 220v receptacle, appropriate wire gauge, cable staples, electrical tape, a wire stripper, and a voltage tester. - Follow All Wiring Guidelines
Adhere to the wiring guidelines specific to your plug configuration. Careful attention must be paid to which wires connect to which terminals, as improper wiring can pose serious safety risks. - Splice the Wires Correctly
After connecting the wiring, splice the wires to complete the circuit. This involves twisting and securing the wires neatly together. Use electrical tape to cover all wire connections to prevent short circuits. - Test the Connections
Once all connections are made, test them. Ensure the voltage tester registers the correct voltage before plugging anything into the outlet. It’s also advisable to check the outlet with a plug before connecting an appliance. - Install the Receptacle
The final step in managing your 220v plug configuration is installing the receptacle. This process is straightforward if you’ve completed the previous steps. Simply slide the receptacle onto the junction box and tighten the screws.
Conclusion
Understanding and managing 220v plug configurations doesn’t need to be complicated. With the right knowledge and safety measures, you can effectively install or replace any 220v outlet.
Leave a reply